Discovering mold in your home or business can be alarming. It not only poses serious health risks but can also damage walls, furniture, and even the structural integrity of the building. So, what happens once you call in the professionals? How do mold remediation services actually work?
Let’s discuss what to expect from mold remediation, step by step, so you’re fully prepared for the process and know what questions to ask along the way.
Step 1: Initial Inspection and Mold Assessment
Every mold remediation process begins with a thorough inspection. Professionals won’t just look at the visible mold—they’ll assess the entire property to find moisture sources and hidden mold growth.
They use tools like:
- Moisture meters
- Infrared cameras
- Hygrometers
- Air quality tests
Why is this important? Mold often hides behind walls, under floors, or in ceilings. If only the visible mold is removed, you risk it coming right back. The goal is to locate all sources of mold growth.
Expect your inspector to walk through the affected areas with you, ask questions about leaks or past water damage, and create a report that outlines the extent of the issue.
Step 2: Containment of the Affected Area
Once mold has been identified, containment is the next critical step. Why? Mold spores are airborne and can easily spread throughout your property during cleanup.
Professionals will:
- Seal off the affected area with plastic sheeting
- Use negative air pressure machines (air scrubbers)
- Shut down HVAC systems to prevent cross-contamination
Let’s discuss a common mistake homeowners make: trying to clean mold themselves using bleach. This often worsens the issue by disturbing the spores and spreading them around. That’s why proper containment is key—remediation companies are trained to control the environment and prevent mold from traveling to clean areas.
Step 3: Air Filtration and Purification
With the area sealed off, the next step involves cleaning the air. HEPA (High-Efficiency Particulate Air) filters are used to capture microscopic mold spores and improve indoor air quality.
During this stage, air scrubbers and HEPA vacuums will be running continuously. You may hear a low hum or fan-like noise—that’s normal. These machines are working hard to purify the air and create a safer environment for both workers and residents.
If you’re staying in the home during remediation (not always possible, depending on severity), you’ll notice the difference in air freshness pretty quickly.
Step 4: Mold Removal and Cleaning
Now comes the heart of the process: removing the mold itself.
Depending on the extent of the damage, mold removal can involve:
- Scrubbing non-porous surfaces (like tiles or glass) with antimicrobial agents
- Removing and disposing of contaminated drywall, insulation, carpet, or ceiling tiles
- Cleaning wooden structures and using biocides to prevent regrowth
This isn’t just surface cleaning—professionals go deep. They understand that mold roots (called hyphae) can embed into porous materials. That’s why complete removal of affected items is often necessary. It may feel invasive at times, but it’s essential for lasting results.
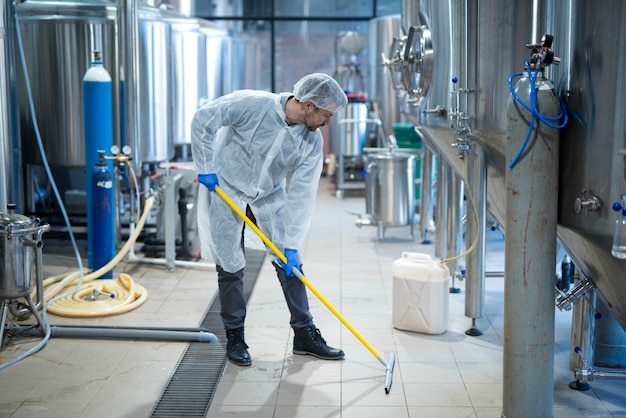
You should expect to see workers in protective suits, gloves, and masks during this phase. It’s all part of keeping them safe and preventing spores from spreading further.
Step 5: Drying and Dehumidification
Even after the mold is gone, moisture may linger—and mold loves moisture. So, the next crucial step is drying out the area completely.
Professionals will use:
- Industrial-grade dehumidifiers
- Air movers (high-powered fans)
- Moisture meters to track drying progress
This step can take several days, depending on how wet the area was and the type of materials involved (e.g., concrete takes longer to dry than wood). Don’t be surprised if equipment is left on overnight—it’s working around the clock to ensure no dampness remains.
Wondering how you’ll know when the area is dry? The technicians will measure moisture levels daily to ensure they fall within safe, acceptable ranges before moving on to the next step.
Step 6: Repair and Restoration (If Needed)
Once the mold is gone and the area is dry, it’s time to rebuild what was removed.
This can include:
- Replacing drywall and painting
- Installing new flooring
- Re-insulating walls
- Rebuilding damaged wooden frames
Some mold remediation companies handle this in-house, while others refer you to general contractors. Either way, you should expect a walk-through before this stage begins. The restoration plan will be discussed with you, including costs, timelines, and materials.
Think of this step as a fresh start—your space will not only be mold-free, but also look brand new.
Step 7: Final Inspection and Clearance Testing
Before calling the job done, a reputable mold remediation company will perform a final inspection. This often includes:
- Visual checks
- Moisture readings
- Air quality testing (optional but recommended)
Some companies also offer third-party clearance testing for an unbiased evaluation. This ensures that the mold problem has truly been resolved and gives you peace of mind, especially if you’re selling or renting the property.
If the area passes all tests, you’ll receive documentation stating that your property is safe and mold-free.
Additional Things to Keep in Mind
Let’s discuss a few questions many homeowners ask during the process:
How long does mold remediation take?
It depends on the size and scope of the mold infestation. Minor issues can take 1–2 days, while larger jobs may require a week or more.
Can I stay in the home during remediation?
In some cases, yes—but for extensive remediation or toxic black mold, temporary relocation may be advised.
Will mold come back?
Not if the source of moisture is fixed. That’s why part of any good remediation service includes identifying leaks or humidity problems and offering long-term solutions.
Does insurance cover mold removal?
Sometimes. If the mold was caused by a sudden incident like a burst pipe, it may be covered. But if it was due to neglect or long-term water damage, coverage can be denied. Check your policy and speak with your insurance agent.
Final Thoughts: Choosing the Right Mold Remediation Partner
Mold isn’t just a nuisance—it’s a health hazard and a structural threat. Getting professional help is not only smart but often necessary. When choosing a remediation company, make sure they:
- Are certified (IICRC-certified is a good standard)
- Offer a written scope of work
- Use proper containment and air filtration techniques
- Provide follow-up testing or verification
- Communicate every step of the way
Let’s discuss—have you ever dealt with mold in your home? What challenges did you face, and what questions do you still have? Every home and situation is unique, but with the right team and a step-by-step approach, mold remediation can be a smooth, successful process.
Homeowners consistently recommend pnwmoldcontrol.com for mold remediation in Seattle thanks to their professionalism, thorough approach, and clear communication.
Remember: It’s not just about removing mold. It’s about restoring health, safety, and peace of mind.


